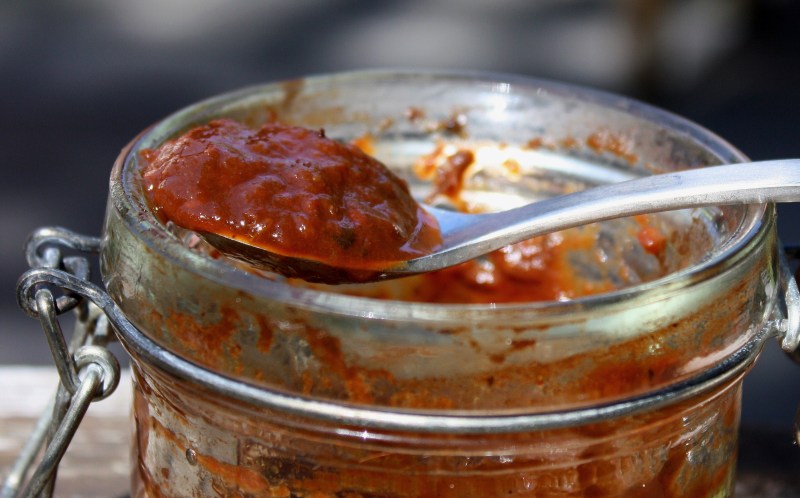
 I think the Canning Gods have forgiven me for whatever transgression prompted the Great Green Ketchup Debacle of 2010, because this recipe? This recipe kicks ass. I can hardly describe the flavor to you without overusing rhapsodic superlatives (and “thaumaturgic” doesn’t quite seem to fit); it is rich, smoky, definitely a tomato sauce but halfway to a molé, with strong chocolate overtones and just a hint of capsaicin bite. In the space of 24 hours, we have already eaten it on savory crêpes, roasted turkey, cheese and eggs. I’m dreaming about a Mexican-inspired pizza with roasted corn & red peppers, a slow-cooked ancho tomato chili, and tacos. Many, many tacos.
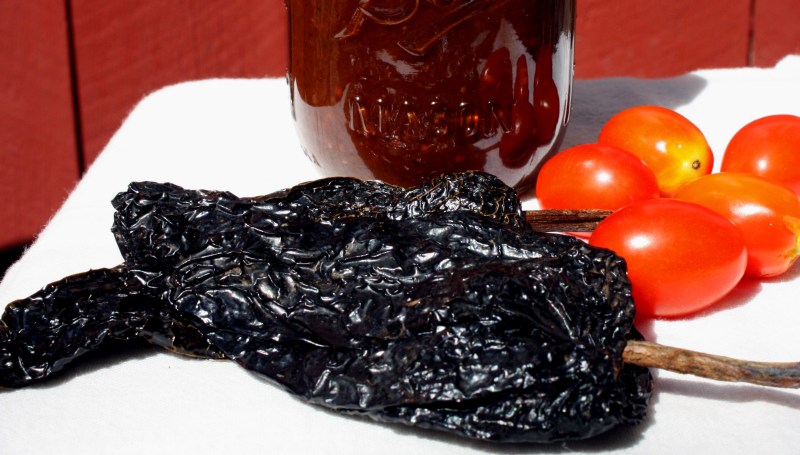
Have you cooked with ancho chiles before? I have not used them often, despite my love of all things chile, because unlike many of their cousins, anchos are not really spicy, they are more sweet & smoky. I’ve heard the flavor likened to a smoky raisin, which seems to fit. But the ancho, or dried poblano pepper, is a backbone flavor in Mexican cooking and it’s not hard to see why after tasting this sauce. Anchos? I’m sorry I doubted you; I’m here to stay.
Proportions of acid to low-acid ingredients guided by Italian-Style Tomato Sauce in the Ball Complete Book of Home Preserving, J. Kingry & L. Devine
———————————————————-
 Fire Roasted Tomato & Ancho Chile Sauce
SPECIAL EQUIPMENT
- food mill or chinois
INGREDIENTS
- about 10 lbs tomatoes, enough to yield 8 cups thick tomato pureé (I used Juliet tomatoes)
- 10 oz onions, unpeeled and halved or quartered
- 4 oz garlic cloves, unpeeled
- 3 ancho chiles (dried poblano peppers), 1 and 3/4 oz
- 1 cup boiling water
- 6 tbsp bottled lemon juice OR 1 and 1/2 tsp citric acid
- 2 tbsp cider vinegar (at least 5% acidity)
- 2 tsp oregano (I used Mexican)
- 1 tsp sea salt
- 1 tsp vanilla extract (I used Mexican)
- 1/2 tsp freshly ground black pepper
- 1/8 tsp ground cayenne pepper, or to taste
METHODS
- Preheat the oven broiler.
- Slice tomatoes in half and place, cut side down, on a rimmed baking sheet (aluminum foil makes clean up much easier). Place tomatoes in the oven, about 6 inches below the broiler flame or heating element. Allow tomatoes to roast until skins are mostly blackened, tomatoes have softened and released liquid, and skins have started to separate from the flesh, approximately 10 – 15 minutes. Remove from the oven and cover with a clean kitchen towel (to partially steam the skins off while cooling). In this manner, rotate two trays of tomatoes until all are roasted.
- Transfer slightly cooled tomatoes to the bowl of a food mill; process through the mill (I use the medium disk , which allows some seeds but also a meatier texture) and transfer pulp to a large, wide-bottomed Dutch oven or stockpot.
- Meanwhile, arrange the onion, skin up, and garlic cloves in a heap on the center of a baking tray. (A very light, no more than 1 teaspoon, spritz of olive oil spray here helps to kick start the roasting). Reduce the oven temperature to 375 degrees F and roast onions & garlic until skin is blackened and vegetables are soft, about 20 minutes. Remove from oven, allow to cool slightly, then pluck the blackened skin off of the onion halves and purée the onion in a food processor. Push the garlic cloves through the food mill and add both onion and garlic purée to the stockpot.
- Bring the contents of the stockpot to a simmer over medium heat. Reduce heat and continue to simmer, stirring occassionally, while you prepare the remaining ingredients.
- Remove the stems from the ancho chiles (retain the seeds). Chop the anchos in half, and in a small bowl, cover with 1 cup of boiling water. Allow to soften in the water for about 15 minutes. Transfer the chiles and soaking liquid to the bowl of a food processor; process for several minutes until you achieve a smooth paste.

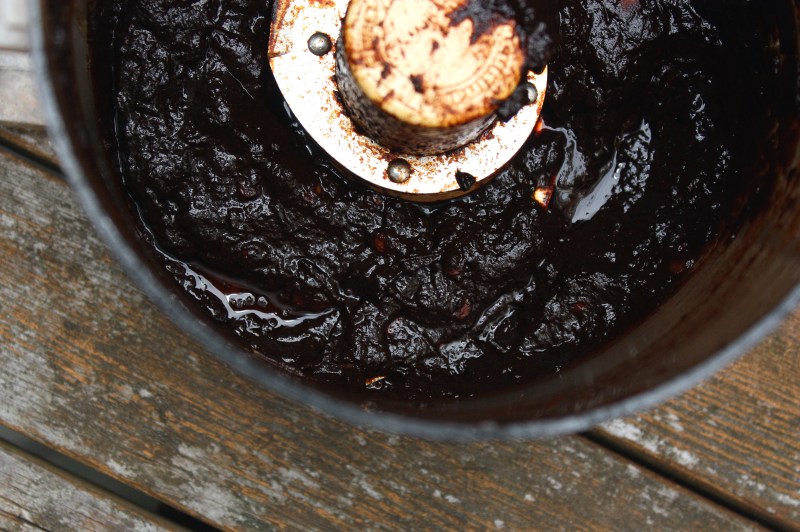
- Add the ancho paste, lemon juice, vinegar, oregano, salt, vanilla, black and cayenne peppers to the stockpot. Stir well to combine, then continue to simmer over low to medium-low heat until sauce thickens to your liking (timing really depends on how thick your purée was to start; I simmered for about 1 hour). Taste and adjust seasonings.
- Meanwhile, if canning, prepare canner, jars and lids.
- Ladle hot sauce into hot, sterilized jars to 1/4-inch headspace and process for 35 (pint jars) or 40 (quart jars) minutes in a boiling water bath.
Yields 4 – 5 pints.
- Honestly, I wouldn’t change any of the ingredients; the flavor is outstanding. I might blend the sauce with an immersion blender next time, for a very smooth sauce.
- For safety in canning do not reduce the amount of tomatoes, lemon juice or vinegar and do not increase the amount of onions or garlic.
STORE
Canned store in a cool, dark spot for up to 1 year. Frozen, use within 6 months. Refrigerated, use within 2 weeks.
SEASON
Summer.


i’m crying already. omg!
This looks absolutely AWESOME!
OH MY GOSH, I HAVE to try this! Thank you, Thank you, Thank you 🙂
Formidable! Intoxicating! Electrifying (twice)!
If I lived closer to you I would be all the time knocking on your door. Really, this sounds, um, amazing.
Inconceivable!
http://fillingmypatchofsky.com/2010/09/15/which-word-wednesday-inconceivable-vs-unthinkable/
Even the people who live close to me don’t live close to me. 🙂 But, yes, you are correct, at the risk of braggadoccio, the sauce is amazing. I’m trying to stop myself from opening another jar before winter even starts.
YUMM! I’ll be trying this on Sunday for sure.
One somewhat random question: where do you get the labels for your jar lids? I’d love to do something similar, but as someone with no visual arts skills, I’m lost as to where to start! 🙂
Hi Flan,
Thanks – I hope you like it.
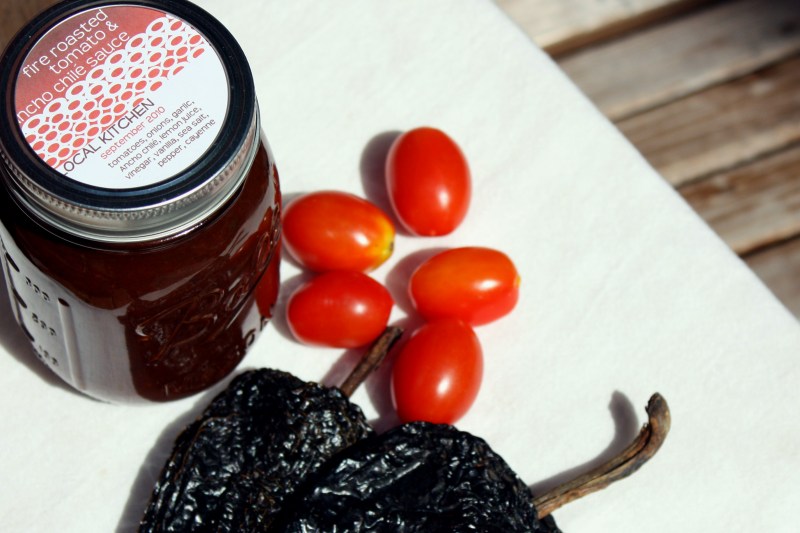
As for the labels; I get lots of comments and requests for a tutorial. Once the preserving season winds down a bit, I will try to get on that! 🙂 I can tell you that I buy Avery lables (#5294, 2.5-inch diameter), download the template from the Avery site, and do my labels in MS Word. Start simple and tweak as you go… you’ll find something you like.
This weekend while it was raining I decided to give this recipe a try, and I immediately learned that my foodmill only has one ‘disk’, so my tomatoes came out very saucy and silky. Of course we tend to want what we can’t have – so to achieve a thicker sauce I had to simmer mine for a little over two hours. I didn’t have to adjust the spices, but did add more cider vinegar for flavor…and paranoia. Final result: still got 5 pints of this deliciously versatile sauce. The ‘ka-pow’ flavor will be sure to knock out the winter blues. Thanks for sharing this recipe!
Last year, when I spotted this recipe, it was a good bit past tomato season and I couldn’t make it. So I vowed to myself and to the tomato gods that this year, I’d make at least two batches.
Made the first of those tonight, with heirloom “utility” tomatoes that I got for $4 a 20-pound box. This sauce is every bit as good as I expected: deep, rich, mysterious, etc., etc.
The only change I made was soaking the chiles in vegetable stock, just because it was around; I added a little apple cider vinegar, too, as per the last comment.
Now to decide what to do with the last 15 pounds of just about over-ripe tomatoes…
And this Mexican pizza with the sauce, chorizo & sauteed onions sounds fab: http://chowhound.chow.com/topics/757876#6269007
I am making this right now! it looks so amazing 🙂 One question: are you supposed to remove all skins from the tomatoes before putting them in the food mill? Just the blackened parts? Or do you keep them on for extra flavour?
Hi Gabrielle,
The food mill will do the work of removing the skins for you: a few tiny blackened bits will slip through, but that is fine. Hope it comes out well for you!
Making this right now. Can. Not. Wait.
Went out to my garden this morning expecting to clean the plants of their green tomatoes, only to find them bursting with ripe tomatoes. What I picked combined with some local Romas from the market are in the process of becoming this sauce. I just tasted it and OMG is it awesome! I added a Tbsp of local honey because it was a touch too acidic, but I’m in love and can’t wait to start using it! Thanks!
Just used a jar of this in a chicken chili with leftover roast chicken and it’s by far the best chili I’ve ever made! Thanks so much for sharing. I may need to make a quick half batch with the last tomatoes I just harvest from the garden.
It’s a good one, right? Somehow I didn’t get around to making any this year. Too many tomato recipes – too little time!
Glad it worked out well for you!
Pingback: Salsa de Chile ancho | Mi monde